Martha Didn't Lie: 4th of July Pinwheel Royal Icing Cookies
Thank you for visiting! This tutorial is no longer available here, but you can find it at my new blog For The Love Of, by clicking here. Thank you and enjoy!
you're like on blog-FIRE right now. um, are you trying to win an award for having the greatest # of consecutive stellar, creative and amazing posts ever? cause if so, i'd vote for you. whew. i can't keep up with all your greatness! i want to try it all.
I don't know how you are able to get your kids to behave for 2 straight hours while making these. I'd have icing on the ceiling, kids in time out, and me on the couch with a glass of wine while the cookies sat half way finished on the counter.
Thanks so much for the kind words :) Let me add by the way that these cookies are easy if you've worked with royal icing before. if not, then perhaps practice a bit before attempting these, and then give it a go. And Leslie, holidays inspire me :) XOXO
We have a huge 4th of July BBQ and I'm totally making these cookies! Thank you! I do this same technique with nail polish and water on my nails! It's not so easy, haha. I'm hoping the frosted cookies will be easier to do. I'm also going to make this fun cake, if you haven't seen it yet, here is a link. the website has a lot of fun treats. http://glorioustreats.blogspot.com/2011/06/4th-of-july-flag-cake.html
I'm totally with you on dem shortbreads! yummmmmers. I've been loving making the Russian Tea Cakes. Oh yeah. Those are delish! Those pinwheels are amazing and make me dern happy just looking at them! Happy 4th to you and yours! Hugs, Sami Jo
I just stumbled onto your blog and should really go to sleep, but can't stop reading your older posts. They are inspiring! So inspiring that I am calculating if I have enough time to make these cookies for a picnic tomorrow. I also do not think your royal icing tutorial was too long. I really appreciated the details and helpful tips :) Thanks for the motivation!
Thank you so much for taking the time to leave a comment. I read and appreciate every single one. If you enable your email address I'd love to respond :)


You know, I really don't like royal icing cookies either, but those design are perfect! I'd have to eat one just for the 4th of july weekend ;)
ReplyDeletexo katie elizabeth
ohheyylife.blogspot.com
you're like on blog-FIRE right now. um, are you trying to win an award for having the greatest # of consecutive stellar, creative and amazing posts ever? cause if so, i'd vote for you. whew. i can't keep up with all your greatness! i want to try it all.
ReplyDeleteI don't know how you are able to get your kids to behave for 2 straight hours while making these. I'd have icing on the ceiling, kids in time out, and me on the couch with a glass of wine while the cookies sat half way finished on the counter.
ReplyDeleteOh my gosh, those are amazing!
ReplyDeletegorgeous. you go girl!
ReplyDeleteleslie is right.
ReplyDeleteyou are smokin' hot with these posts!
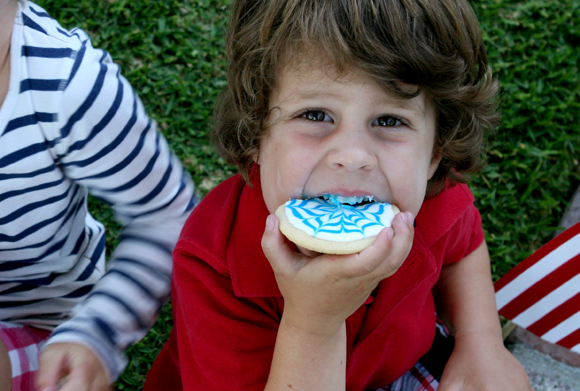
these look delightful-your kiddos are so darn cute. i think my fave part of the post though is the stripey paper straw. *wink*
Xo
Such beautiful cookies! Almost too pretty to eat. Love the tutorial, your photos are great.
ReplyDeletethose cookies are amazing...almost two pretty to eat! cant wait to see you at blog sugar!
ReplyDeleteThanks so much for the kind words :) Let me add by the way that these cookies are easy if you've worked with royal icing before. if not, then perhaps practice a bit before attempting these, and then give it a go. And Leslie, holidays inspire me :) XOXO
ReplyDeleteThose cookies turned out gorgeous! And how simple? Wow! Definitely making these with the kids this summer.
ReplyDeleteWe have a huge 4th of July BBQ and I'm totally making these cookies! Thank you! I do this same technique with nail polish and water on my nails! It's not so easy, haha. I'm hoping the frosted cookies will be easier to do. I'm also going to make this fun cake, if you haven't seen it yet, here is a link. the website has a lot of fun treats.
ReplyDeletehttp://glorioustreats.blogspot.com/2011/06/4th-of-july-flag-cake.html
Happy Fourth!
I gave you an award! Visit my blog to see :)
ReplyDeletexo katie elizabeth
ohheyylife.blogspot.com
I'm totally with you on dem shortbreads! yummmmmers. I've been loving making the Russian Tea Cakes. Oh yeah. Those are delish! Those pinwheels are amazing and make me dern happy just looking at them! Happy 4th to you and yours!
ReplyDeleteHugs, Sami Jo
I just stumbled onto your blog and should really go to sleep, but can't stop reading your older posts. They are inspiring! So inspiring that I am calculating if I have enough time to make these cookies for a picnic tomorrow. I also do not think your royal icing tutorial was too long. I really appreciated the details and helpful tips :) Thanks for the motivation!
ReplyDeleteHow amazing! I admit I totally did not believe Martha when she said they were easy. :) Thanks for the tutorial!
ReplyDelete